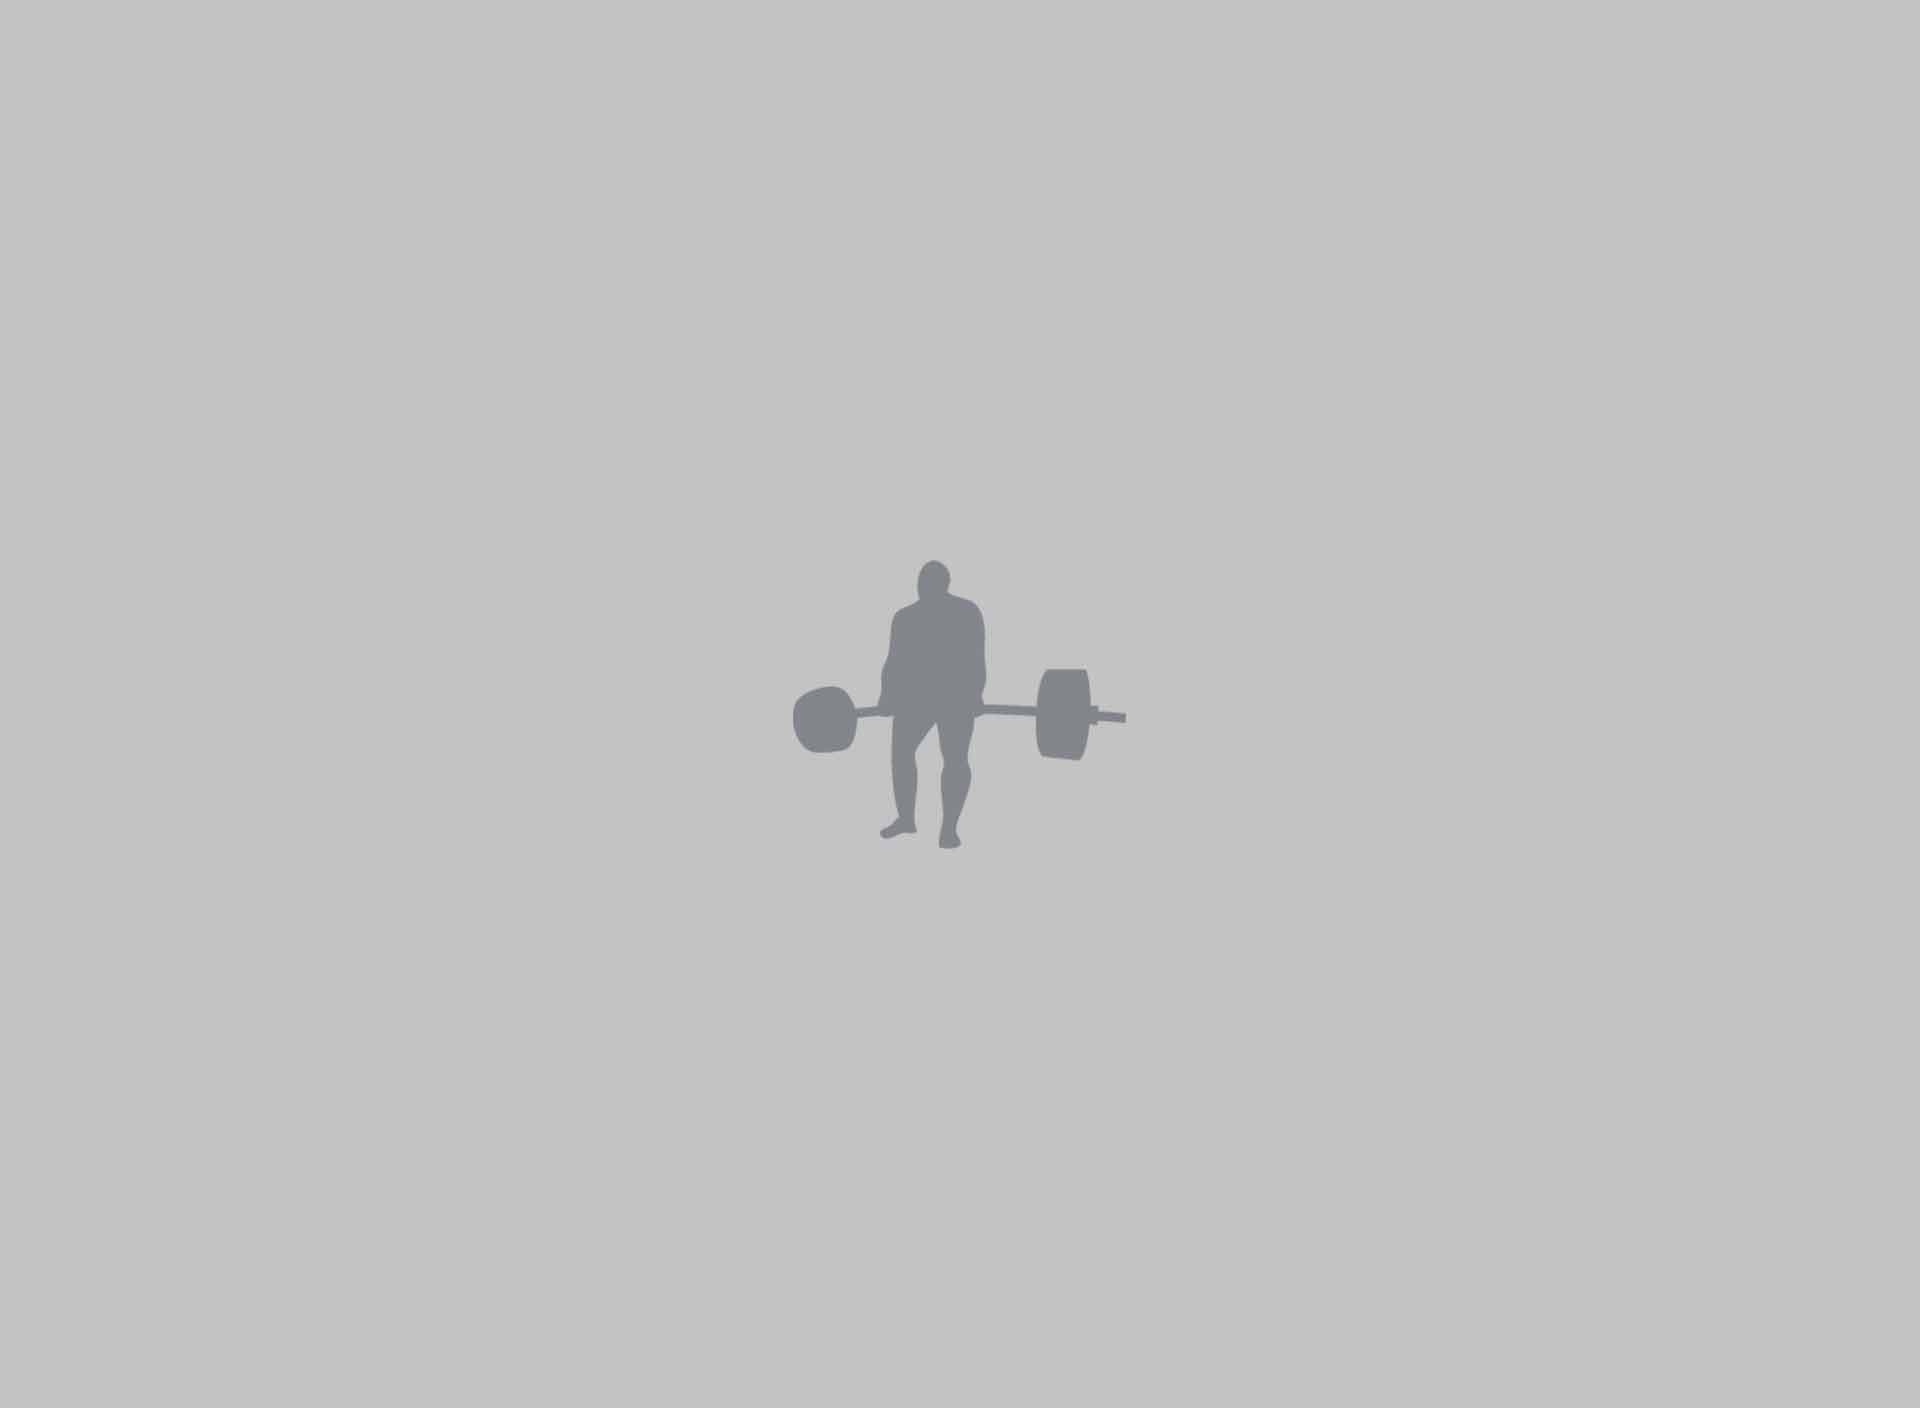
Written by Chad Wesley Smith
Master your squat technique with this 4 part breakdown of proper technique to help you lift the most and stay healthy.
A tight set-up through the upper back is critical to helping you keep a constant torso angle throughout the squat. Whether you are squatting high or low bar, following these three steps will ensure a strong position that keeps you from getting rounded over or pushed too forward during maximal lifts.

#1 Hand Position
Moving your hands closer together on the bar will automatically generate more tension through the upper back. How close your hands can get will be determined by your shoulder mobility and even though you may be able to get into a very tight position, if it causes too much pain in the shoulders/elbows/wrists that your bench press training suffers, that would be closer than your mobility would allow for. If you are able to put your hands very close without pain, remember that to maximize tension your elbows need to be aligned inside your hands.
#2 Pull Everything Toward the Center of Your Body
Tightly retracting your scapula will create a strong shelf on which to put the bar and will help prevent your upper back from rounding during a heavy lift. To further create a tight, strong position, try to pull your elbows together slightly behind your body. You want your elbows pointed more down than backward, so that they are angled at the top of your glutes.
#3 Elbows Forward
Once you have done a good job of steps #1 and #2, then you can try to push your elbows under the bar. If you’re doing a good job of #1 and #2, your elbows likely won’t move forward very much if at all, but the intent of pushing them forward will generate more tightness in the lats for a more rigid torso angle.

Proper breathing and bracing patterns will not only make your squat stronger, it will help keep you healthier through years of hard training.
#1 Can of Stability
Creating a neutral position with the top of your pelvis squarely facing the bottom of your ribs will help you maximize tension. Think of this like an intact empty soda can but adding too much extension through the lumbar is like denting the side of that can, making it easier to crush.
#2 Breathe In Through Your Nose Then Mouth
Deliberately breathe in through your nose for better activation of the diaphragm. You will likely also need to breathe in through your mouth to get a sufficient amount of air while under maximal loads. Taking in this air should make you feel like you are ready to pop with tension.
#3 360 Pressure
The common cue of ‘big air into your belly’ will often lead the lifter to only push their abs forward, creating extension and not maximizing tension. We want to focus on pushing our air out into our obliques, making your waist as wide as possible. This will help maximize tension through Circumferential Expansion of the trunk.

An aggressive and confident descent through well balanced positions is critical to maximizing success in the squat.
#1 Find Your Big Toes
For a long time, advice in the squat focused on putting weight into the heels, so we have found it necessary to really emphasize pressing the athletes big toe into the floor when initiating the squat. Optimally, the athlete will have equal pressure through their Big Toe, Little Toe and Heel when beginning their descent.
#2 Hips and Knees Together
The initial movement of the squat descent should be a simultaneous unlocking of the knees and hips. This is a natural hinging of the body’s joints, will allow the lifter to maintain their Full Foot Pressure and help them squat down, rather than back.
#3 Go As Fast As YOU Can
Descending quickly and confidently will help the athlete get some rebound out of the hole while also conserving energy during the eccentric phase of the lift. Whether you are a divebomb squatter or have a slow descent, it is key that the rhythm of your descent is consistent and you are moving as quickly as you can while hitting the same positions and maintaining proper tension, this speed will vary from lifter to lifter.

Creating a synergistic effort between the quads, glutes, hamstrings, hips and entire back will maximize the amount of weight you can move in the squat and the efficiency of the movement.
#1 Locked In Head Position
Whether you look slightly down or slightly up, a relatively neutral head position is best. Avoid looking at your feet or craning your neck back to look toward the ceiling. Whatever head position you choose, it needs to remain constant throughout the lift. Imagine as if you are wearing a neck brace, locking your head position in place and creating a single unit between your head and upper back.
#2 Drive Your Upper Back Into the Bar
Actively pushing your upper back into the bar will help ensure that you best utilize your hip extensor muscles during the squat. Focus on creating equal pressure with your upper back into the bar, as you are with your feet into the floor during the Squat. Lifters who have a tendency for their hips to rise fast compared to their shoulders due to relatively greater strength in their legs than back, will really need to focus on this cue.
#3 Knees Forward
Maintaining pressure on the big toe throughout the descent of the squat will allow the knees to track forward as permitted by your ankle mobility. Keeping your knees in their most forward position, wherever your ankle mobility allows that to be, as you initiate the push out of the hole will help you best utilize your quads, the primary movers of the squat. Many lifters will really need to fight to keep their knees forward because when the knees shift back, the hips will rise too fast and shift the emphasis of the work onto the less well suited hamstrings.