Written by Blaine Sumner
Getting set up for the squat is like building the foundation of a house. It needs to be stable and secure to create something great. The setup is frequently overlooked but is vital to a massive squat. The squat setup will be broken down into two phases – the unrack and the walkout.
1. The unrack
This phase takes places from the moment you approach the bar until the bar is lifted off the rack.
When approaching the bar you should have a routine that you go through and signals your body it is time to go squat. Approach the bar with a clear, focused, motivated attitude.
First, set your grip. The width will depend on the person and their shoulder mobility. The grip width should be even and secure. Grip the bar very hard as it will force more tightness in your upper body.
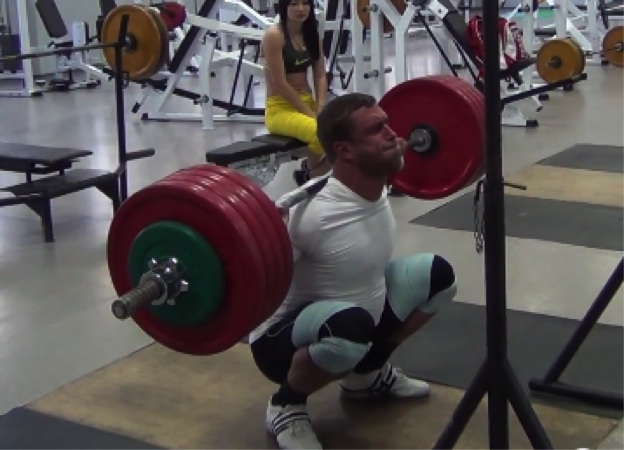
After the grip is set, pull yourself under the bar and determine the bar placement on the back. There are two general forms of the bar placement – either high bar or low bar. The powerlifting “high bar” is not as high as an Olympic high bar squat, and there is certainly a ‘middle bar’ in between the two. It just takes time to find what works for you. Placing the high bar will set the weight of the bar across the bottom of your traps, and near the top of your shoulders. The low bar will rest across more of your upper back where the rear delts will create a shelf for it.
Like all other phases, it is crucial to create as much tightness as possible. This means pulling the shoulder blades together and engaging the lats while squeezing the bar. Experimenting with elbow position (forward or backward) can also help create a more stable shelf for the bar. Once you have created great tightness, take a big breath and lift the bar straight up out of the rack.
2. The walkout
After the bar has been unracked, only a few steps lie between you and that massive squat. Time under tension is one part of the equation when it comes to fatiguing the muscles and central nervous system. Because of this we want a quick, efficient set up without rushing it and getting out of position.
The most common walk out takes 3 steps, and you should never need to take more steps than that.
After unracking the weight, maintain your breath and tightness and take one step straight back. The second step will come back at an angle. It should come just as far back as the first step, but also a little out to the side. The third step is with the same foot you started with, but it is just a short jab step straight out to the side to establish your stance width.
So it goes (straight back, angled back, sideways). The first two establish your distance back from the rack, the third sets your width. It’s important to practice these steps even on your lightest warm ups so that they become instinctual.
Again – these need to be efficient steps with minimal wasted movement and time. We are trying to reduce the time under tension and get set up. After walking the weight out, lock the knees, take another big breath, and squat.
Stay tuned! The Juggernaut Squatapalooza continues tomorrow with vital information about how to avoid missing squats at your sticking point.
If you really want to take your squat to the next level, check out Strong360, the community comprised of elite coaches, Team Juggernaut athletes, and other members of the Juggernaut Nation. On top of the exclusive articles and hours of video content already there, a top-notch squat webinar series form some of the best squatters in the world is coming soon.